ClickUp Connection
In this guide:
Introduction
In this guide, we’ll go over how to create the ClickUp Connection for BlinkMetrics. This will allow BlinkMetrics to pull data from ClickUp as a Source.
Authorizing ClickUp Connection
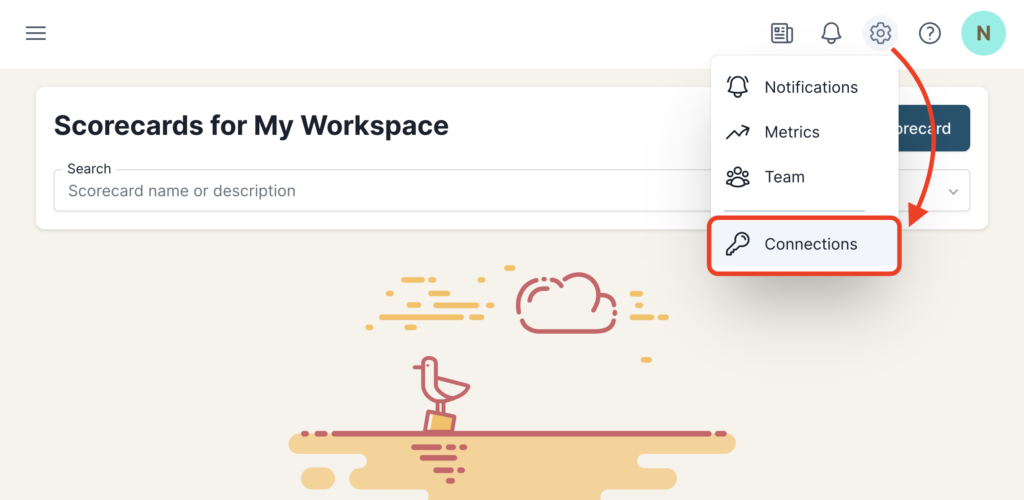
1. Go to the Connections Page
To create the ClickUp Connection, click on the Settings cog icon in the header > select the Connections menu item. This will open the Connections page. Next, click the Add Connection button.
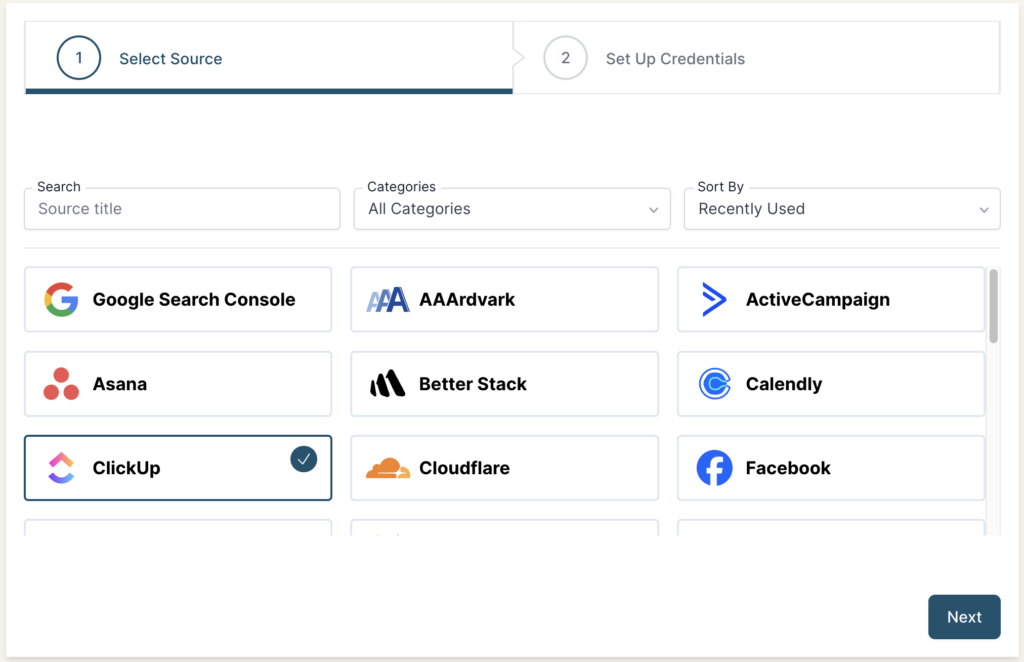
2. Add Connection
From the Connection Stepper interface, select ClickUp in the Select Source tab. In the Set Up Credentials tab, you’ll see a few fields that we need to fill in. Open a new tab and go to the next step in the guide. Don’t close this tab, though; we’ll need to return to this BlinkMetrics page in Step 4 below.
3. Collect ClickUp API Token
To create a connection with BlinkMetrics, we’ll need to collect the API Token from your ClickUp account. Navigate the ClickUp account to copy the API Token:
- Click on your Profile Icon in the top-right corner > select Settings
- Click on the Apps menu item in the Settings sidebar (NOT ClickUp API or ClickApps)
- In the API Token page, copy or generate your API token; we’ll need to add this key to BlinkMetrics in the next step

Permissions Needed
ClickUp allows all users to access and generate an API Token. The personal API tokens permit access to every Workspace your account has created or joined. And personal tokens never expire.
Your personal token gives you the same access as a web browser. This means you can only access data and perform actions within the scope of your user permissions within ClickUp itself; you cannot exceed your standard user access level through the API.
Plan Needed
All of the ClickUp Workspace Plans have access to the API. Though API rates do apply and vary by Workspace Plans, BlinkMetrics manages them smoothly. Our code automatically detects when we’re nearing the limit and slows down calls as needed to stay within it.
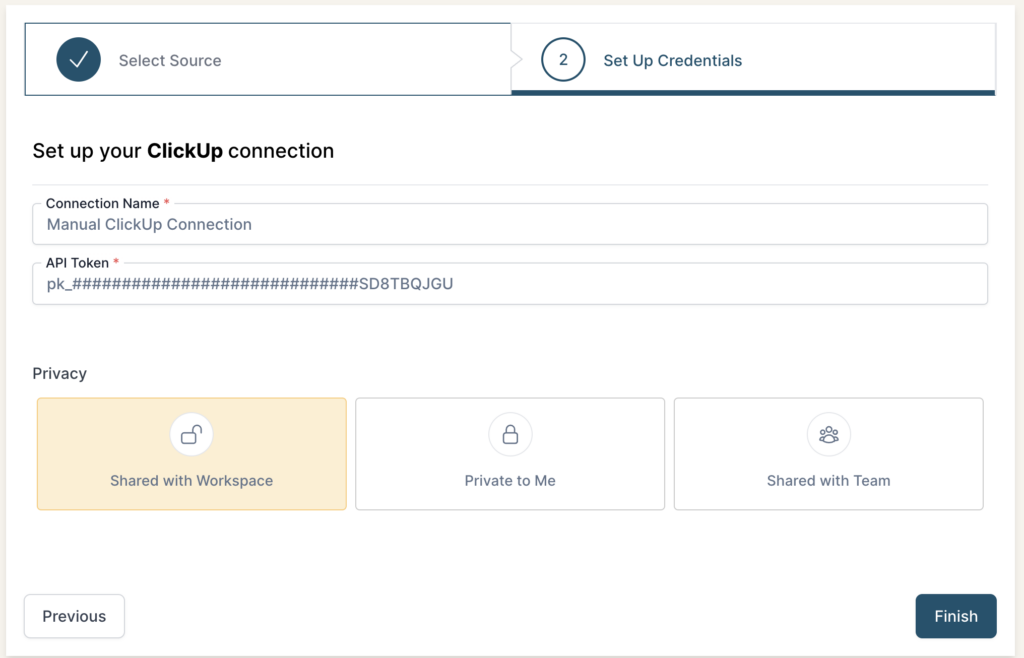
4. Set Up Credentials in BlinkMetrics
Now that you’ve collected your API Token from ClickUp, paste it into its respective field in the Set Up Credentials tab in BlinkMetrics.
Enter a Connection Name; this is just for organizational purposes, and we recommend you provide details on which account it was connected to.
Select the Privacy level for the connection (you can edit this later, too): Shared with Workspace, Private to Me, or Shared with Team.
When you’re done, click Finish.
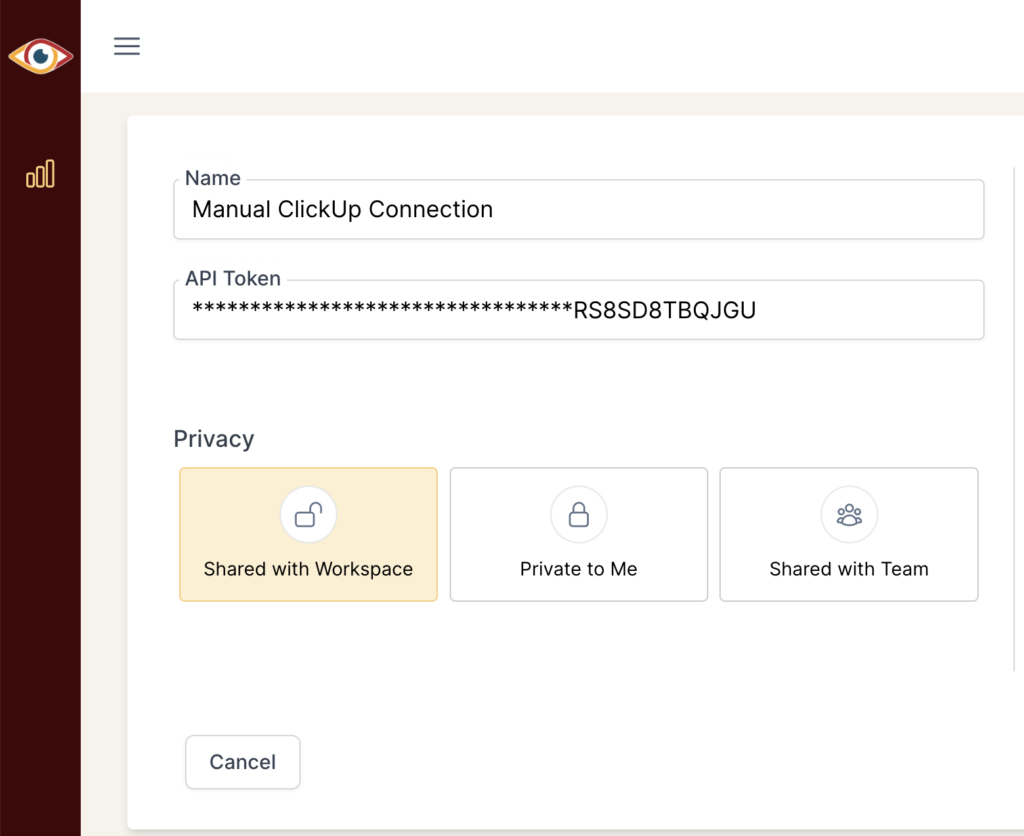
5. Review Privacy and Save Connection
Once you complete the connection, you’ll be redirected back to the ClickUp Connections page. You can click the new listing to view the Connection detail page. From here, you can edit the following:
- Connection Name: Used for organizational purposes, each Source can have multiple Connections, so it’s helpful to see who authorized the Connection or which account it was connected to.
- API Token: If you need to update your ClickUp API Token, you can swap them here.
- Privacy: You can choose who it’s shared with: Shared with Workspace, Private to Me, or Shared with Team.
And that’s it! You can now use the Connection to pull data from the ClickUp Source. You’re done!