
monday.com Connection
In this guide:
Introduction
In this guide, we’ll go over how to create the monday.com Connection for BlinkMetrics. This will allow BlinkMetrics to pull data from monday.com as a Source.
Authorizing monday.com Connection
1. Go to the Connections Page
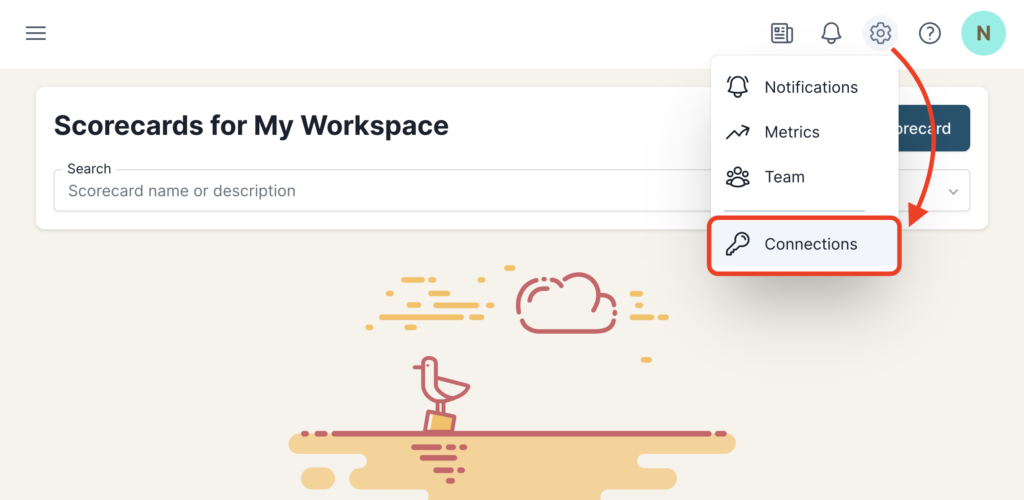
To create the monday.com Connection, click on the Settings cog icon in the header > select the Connections menu item. This will open the Connections page. Next, click the Add Connection button.
2. Add Connection
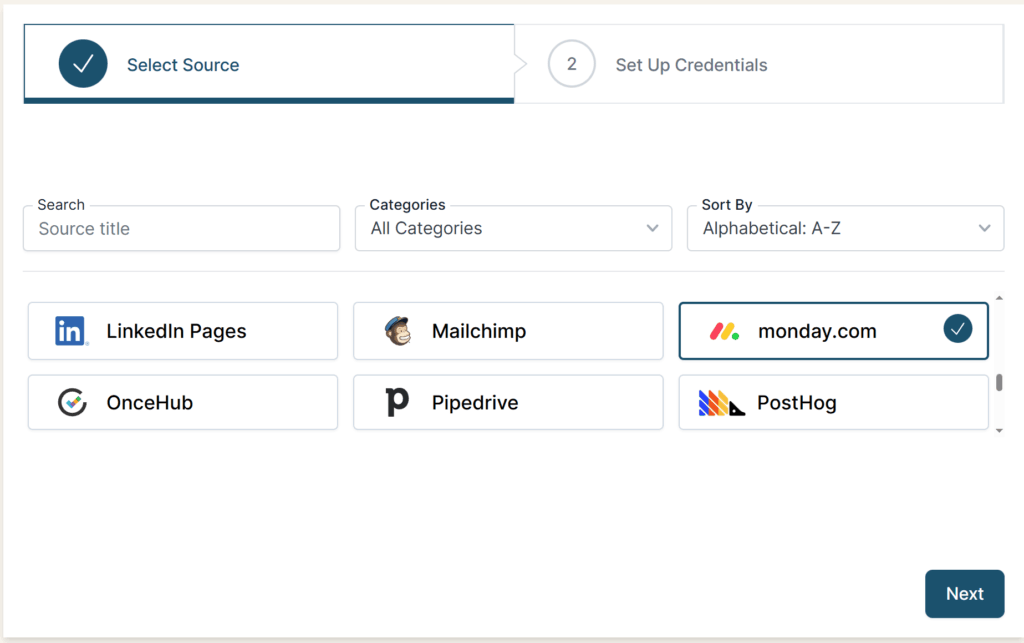
From the Connection Stepper interface, select monday.com in the Select Source tab. In the Set Up Credentials tab, click the Continue with monday.com button.
Try to log into your monday.com account before completing the connection process; otherwise, you’ll be prompted to Sign In before connecting to the app.

Clicking Continue with monday.com will redirect you to the monday.com authorization page, where BlinkMetrics can connect to your monday.com account.
Permissions Needed
You must have the Admin role to create a connection and metrics in BlinkMetrics. Only Admins can install apps for the monday.com account.
Users with the Member role do not have sufficient permissions to create a connection with BlinkMetrics. Please ask an Admin to help create the connection.
Plan Needed
monday.com requires at least the Standard Plan to connect to the third-party integration apps. To connect third-party OAuth apps on monday.com, you’ll need to have a plan that supports integrations.
| monday.com Plan | Integration Support |
|---|---|
| Free Plan | Does not support third-party app integrations. |
| Basic Plan | Does not support third-party app integrations. |
| Standard Plan | Includes 250 integration actions per month. |
| Pro Plan | Offers 25,000 integration actions per month. |
| Enterprise Plan | Provides 250,000 integration actions per month. |
And API rates do apply, BlinkMetrics manages them smoothly. Our code automatically detects when we’re nearing the limit and slows down calls as needed to stay within it.
3. Select Account ID, Review Privacy, and Save Connection
After being redirected back to BlinkMetrics, you should see an overview of the following:
- Connection Status
- Date Connected On
- User Connected By
From here, you can also edit the following:
- Connection Name: Used for organizational purposes, each Source can have multiple Connections, so it’s helpful to see who authorized the Connection or which account it was connected to.
- Privacy: You can choose who it’s shared with: Shared with Workspace, Private to Me, or Shared with Team.
When you’re done, click Save, and now you’re done! You can now use the Connection to pull data from the monday.com Source.
What’s Next? Set Up Your Metrics
Once your monday.com connection is set up, you’re ready to start creating metrics, scorecards, and tracking data!
Head over to the monday.com Metrics Guide to learn how to create and customize metrics from your connected monday.com account. You’ll get step-by-step instructions for setting up metrics and adding them to scorecards so you can see everything in one place.