
Manage Workspace
Introduction
The Manage Workspace menu gives workspace owners and administrators control over settings, team access, and automated notifications. This guide covers each section: Workspace Settings, Teams, Scorecard Digests, Metric Alerts, and Reminders.
Accessing Manage Workspace
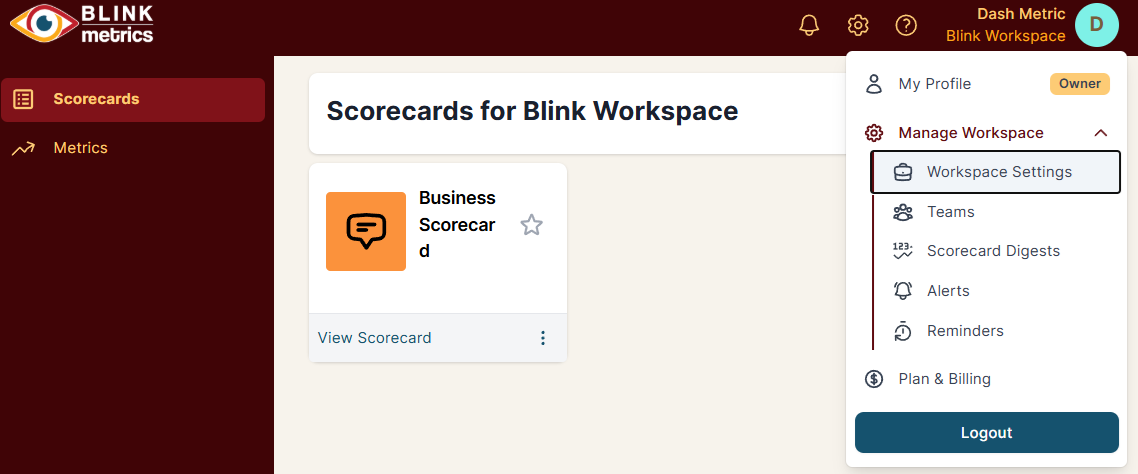
Click on your workspace name in the top-right header, then expand the Manage Workspace menu to see the available sections.
Workspace Settings
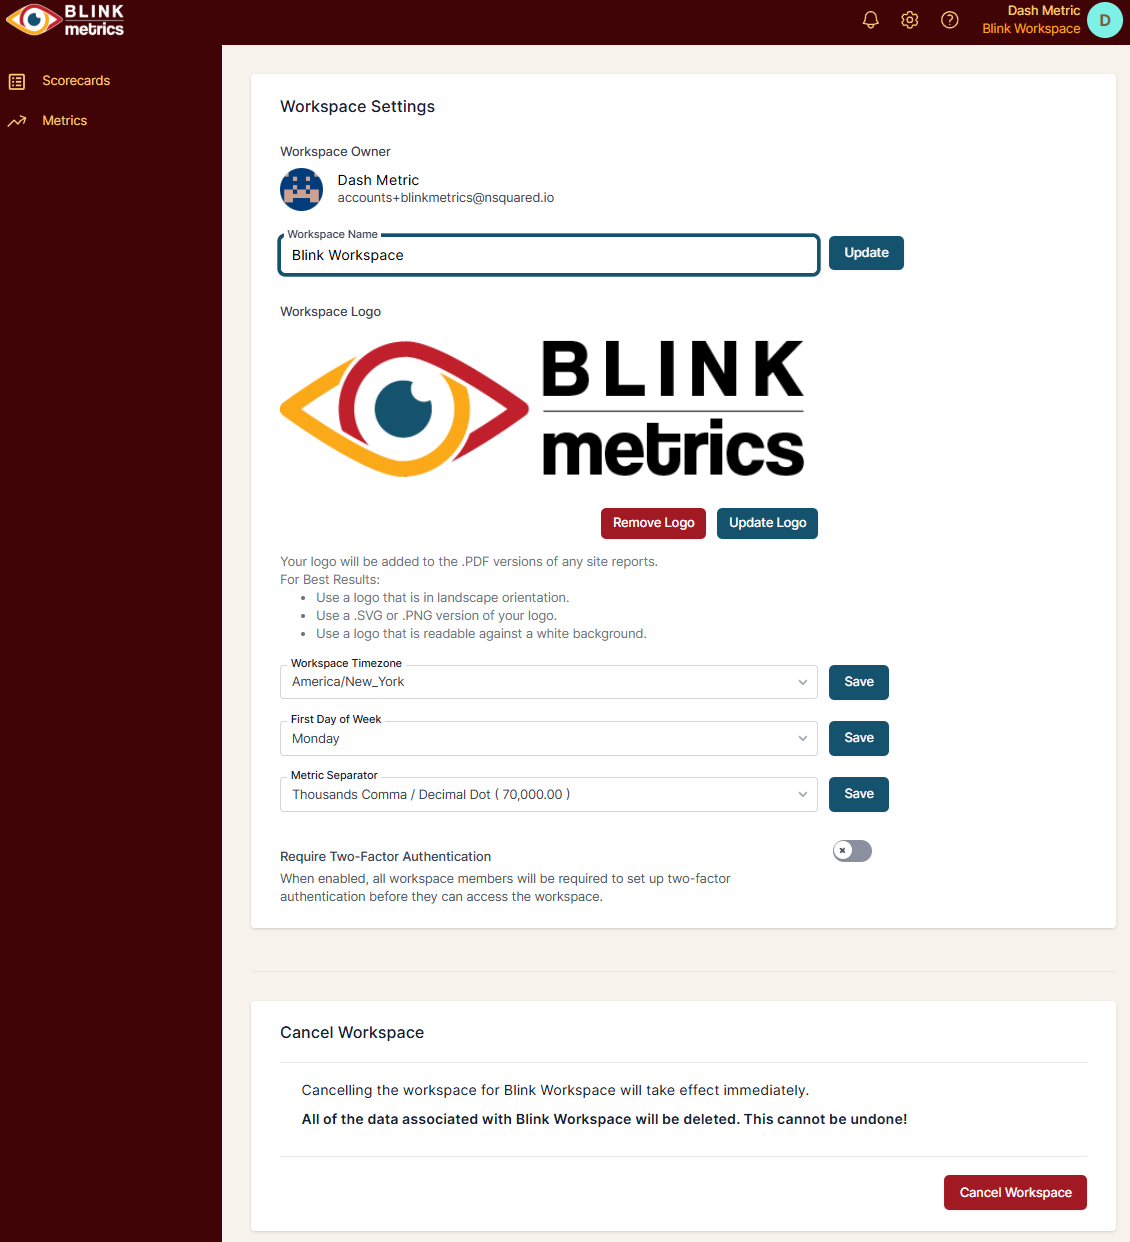
Workspace Settings lets you configure the basic details and preferences for your workspace.
Available Settings
- Workspace Owner: Shows who owns the workspace (display only).
- Workspace Name: Update the name that appears in the header and throughout the app.
- Workspace Logo: Upload your logo to include it in PDF report exports. For best results, use a landscape-oriented SVG or PNG that’s readable against a white background.
- Workspace Timezone: Set the timezone used for all date and time displays.
- First Day of Week: Choose whether weeks start on Sunday or Monday.
- Metric Separator: Select your preferred number format (e.g., “Thousands Comma / Decimal Dot” displays 70,000.00).
- Require Two-Factor Authentication: When enabled, all workspace members must set up 2FA before accessing the workspace.
Cancel Workspace
At the bottom of Workspace Settings, you’ll find the option to cancel your workspace. This takes effect immediately and permanently deletes all data associated with the workspace. This cannot be undone.
Teams
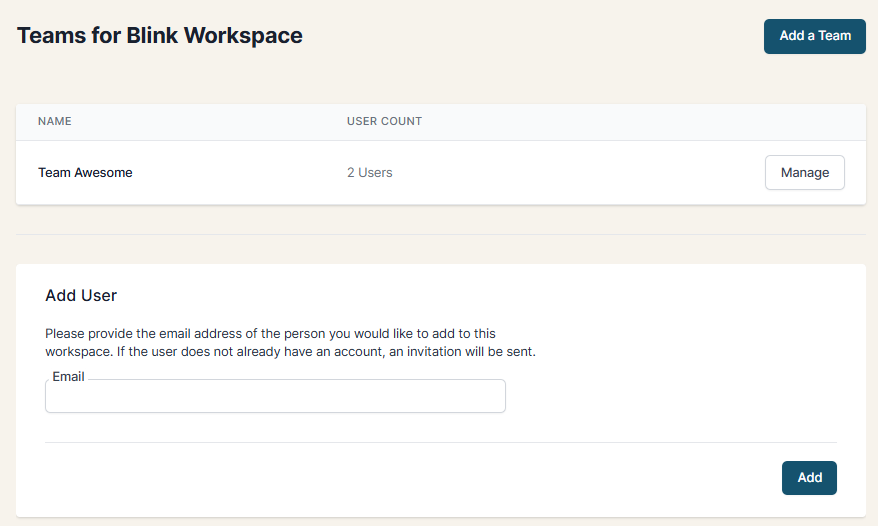
The Teams page lets you organize users into groups, invite new members, and manage access to your workspace.
Creating a Team
- Go to Manage Workspace > Teams
- Click the Add a Team button in the top-right corner
- Enter a Team Name
- Select which users to add to the team
- Click Save
Teams appear in a list showing the team name and user count. Click Manage to edit a team’s members.
Adding Users to Your Workspace
In the Add User section, enter the email address of the person you want to invite. If they don’t already have a BlinkMetrics account, they’ll receive an invitation email.
Pending invitations appear in the Pending Workspace Invitations section. From here you can Resend the invitation or Cancel it.
Managing Existing Users
The Users section lists everyone in your workspace. For each user, you can see their name, email, and role. Use the Change Role button to update their permissions or Remove User to revoke their access.
User Roles
When adding or editing a user, you can assign one of five roles:
| Role | Permissions |
|---|---|
| Administrator | All permissions except managing billing, updating the workspace plan, and cancelling the account. |
| Project Manager | Create, edit, and delete Scorecards, Metrics, Digests, and Connections. Invite Project Managers. Update roles and remove members (Project Managers only). Manage Teams. |
| Data Entry | View Scorecards, Metrics, and Connections. Update and edit Cells in Scorecards. |
| Viewer | View Scorecards, Metrics, and Digests. |
| Restricted Viewer | View only the Metrics and Scorecards that belong to their assigned team. |
Scorecard Digests
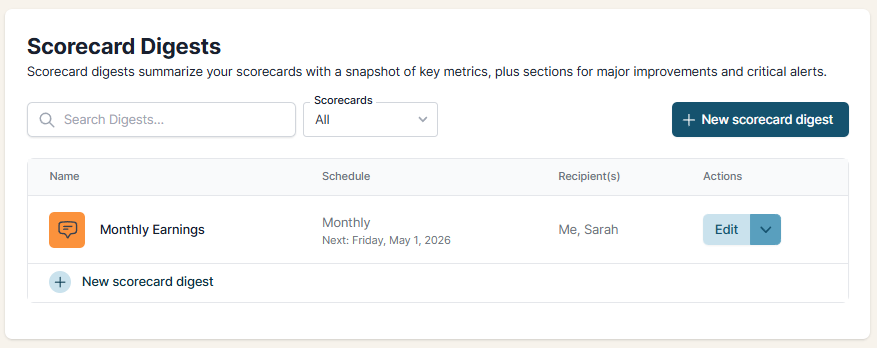
Scorecard Digests send scheduled email summaries of your key metrics. Each digest includes a snapshot of your scorecard’s metrics, plus sections highlighting major improvements and critical alerts.
Creating a Scorecard Digest
- Go to Manage Workspace > Scorecard Digests
- Click + New scorecard digest
- Select the Scorecard you want to summarize
- Choose the Recipients (workspace members who should receive the email)
- Set the Schedule (e.g., Monthly)
- Click Save
Your digests appear in a list showing the name, schedule (with the next send date), and recipients. Click Edit to modify a digest.
Use the Search Digests field or Scorecards filter to find specific digests in longer lists.
For more details on configuring and customizing digests, see Scorecard Digests.
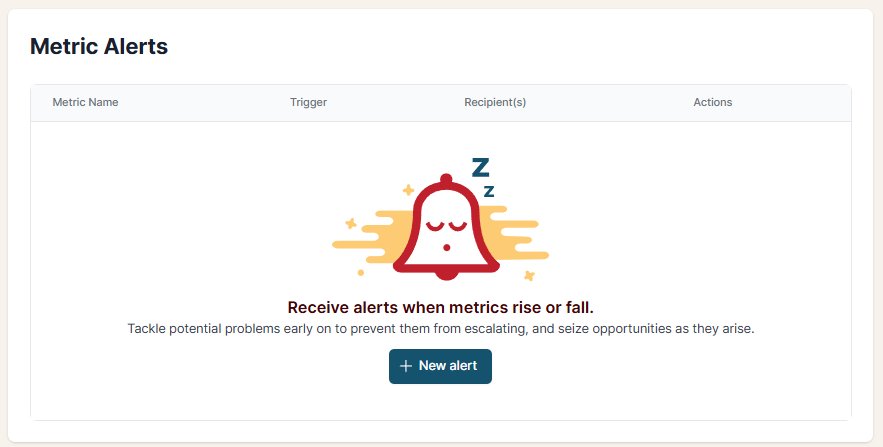
Metric Alerts
Metric Alerts notify you by email when your metrics rise or fall past a threshold. Use them to catch problems early or spot opportunities as they happen.
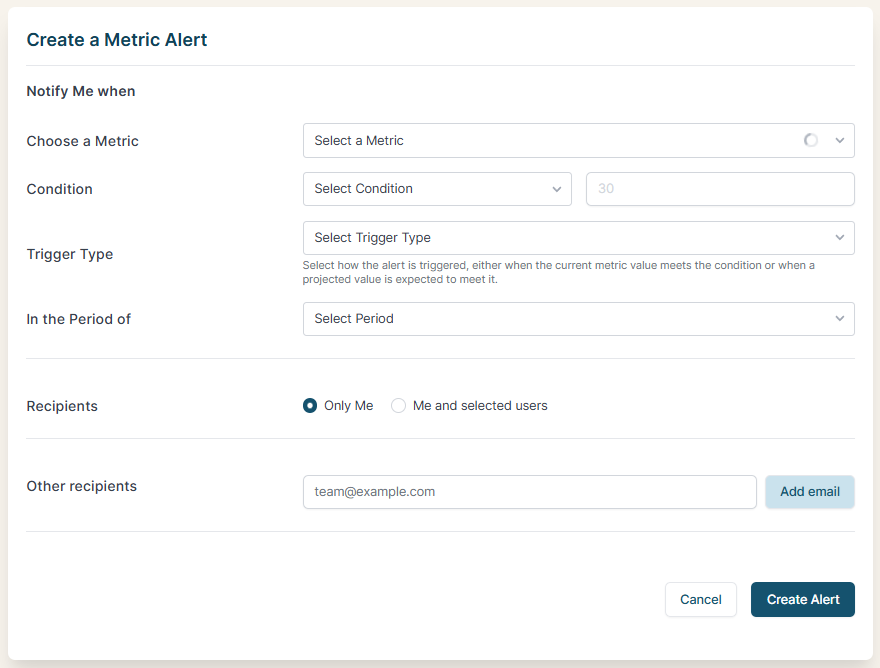
Setting Up an Alert
- Go to Manage Workspace > Alerts
- Click + New alert
- Choose a Metric to monitor from the dropdown
- Set the Condition (e.g., greater than, less than) and enter the threshold value
- Select the Trigger Type: fire the alert when the current value meets the condition, or when a projected value is expected to meet it
- Choose the Period to evaluate
- Select Recipients: Only Me, or Me and selected users
- Optionally add Other recipients by email address (for people outside your workspace)
- Click Create Alert
Your alerts appear in a list showing the metric name, trigger condition, and recipients.
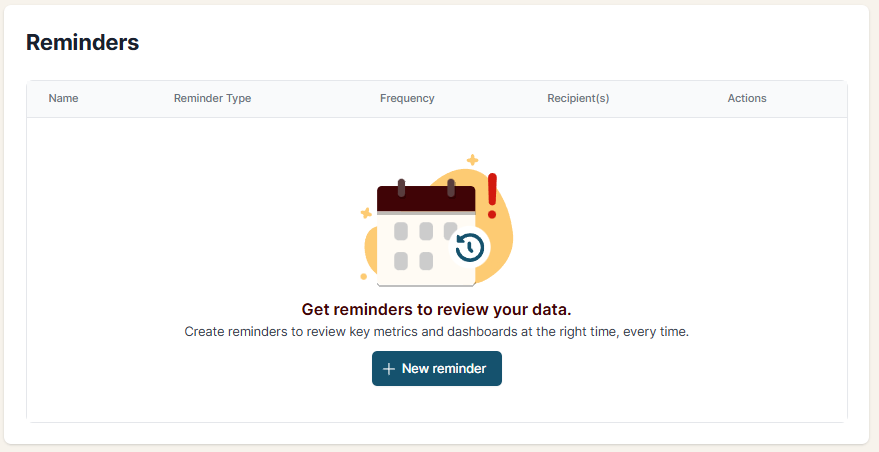
Reminders
Reminders help you and your team review key metrics and dashboards on a regular schedule. Instead of relying on memory, set up a reminder to prompt you at the right time.
Creating a Reminder
- Go to Manage Workspace > Reminders
- Click + New reminder
- Select the Reminder Type (e.g., Dashboard)
- Choose the specific Dashboard (or other item) you want to be reminded to view
- Set the Frequency (e.g., Daily)
- Set the Email follow-up window (e.g., 48 hours). If you haven’t viewed the item within this period, you’ll receive an email reminder.
- Select Recipients: Only Me, or Me and selected users
- Click Create reminder
Your reminders appear in a list showing the name, type, frequency, and recipients.
