
Managing Your Profile
Introduction
In this guide, we’ll go over your My Profile page in BlinkMetrics. This is where you manage your personal details, account security, notification preferences, and how your scorecards look to you. These settings are personal to your account - they don’t change anything for other people in your workspace.
Getting to My Profile
Click your workspace name and avatar in the top-right corner of the header, then select My Profile from the dropdown menu.
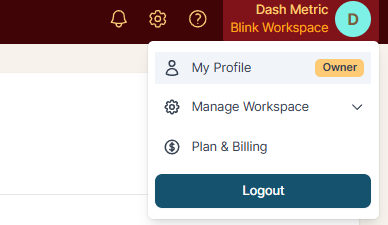
Your profile is organized into four tabs: General, Security, Notifications, and Visuals. We’ll walk through each one.
General
The General tab is where you manage your basic profile information.
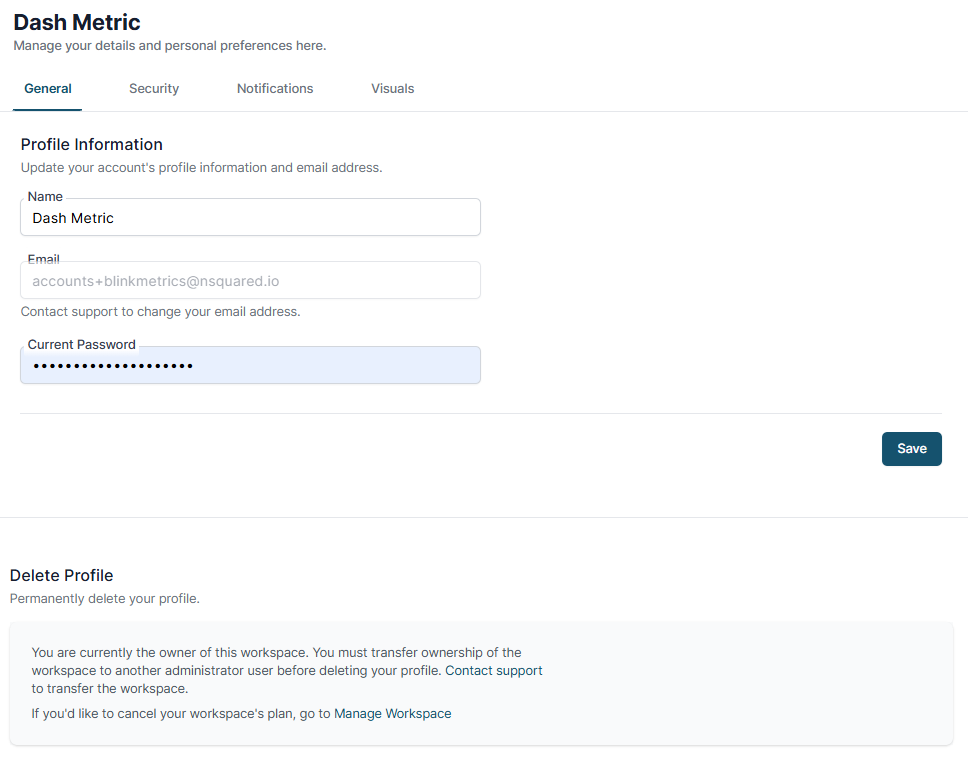
Update Your Name
Edit the Name field to change how your name appears across BlinkMetrics, then click Save.
Your Email Address
Your Email is shown here, but it can’t be edited directly. If you need to change the email on your account, contact support and we’ll take care of it for you.
Current Password
Some changes ask you to confirm your Current Password before saving. Enter it here when prompted, then click Save.
Deleting Your Profile
At the bottom of the General tab is the Delete Profile section, which permanently removes your profile.
If you’re the owner of the workspace, you’ll need to transfer ownership to another administrator before you can delete your profile - contact support to transfer the workspace. If you’d like to cancel your workspace’s plan instead, head to Manage Workspace.
Security
The Security tab covers your password, two factor authentication, and active browser sessions.
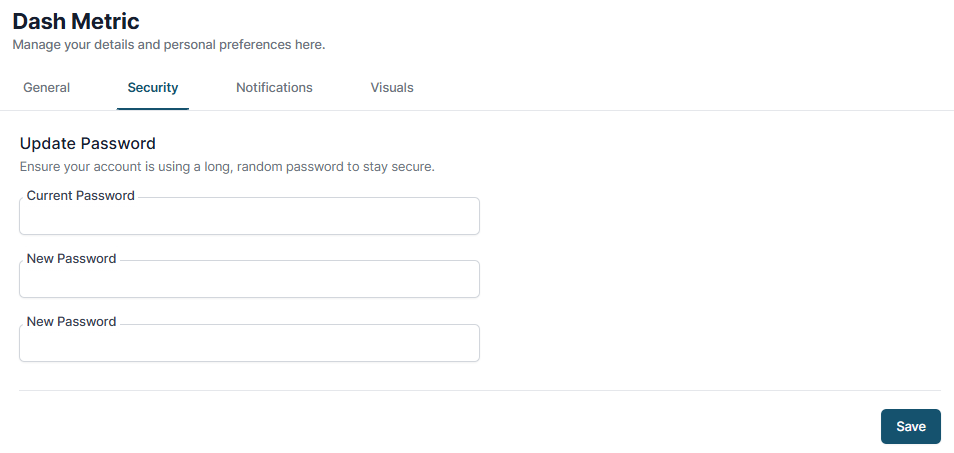
Update Your Password
To change your password, enter your Current Password, then your New Password twice to confirm it, and click Save. We recommend a long, random password to keep your account secure.
Two Factor Authentication
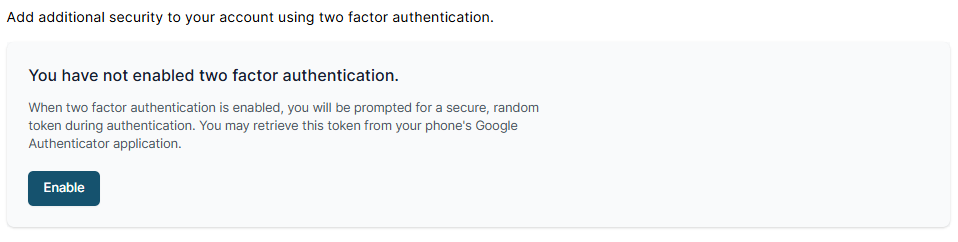
Two factor authentication adds an extra layer of security. When it’s enabled, you’ll be asked for a secure, random token during login, which you retrieve from an authenticator app like Google Authenticator on your phone.
Click Enable to set it up and follow the prompts.
Browser Sessions
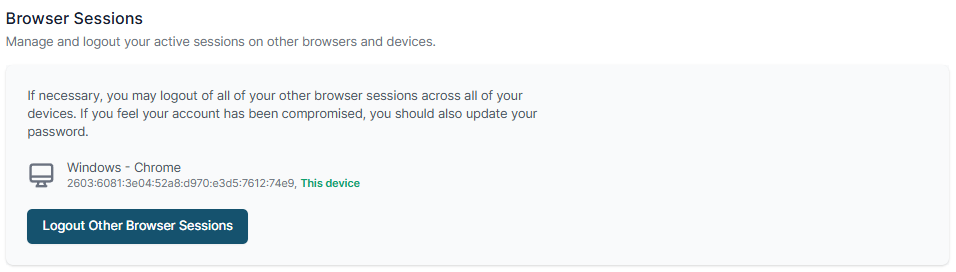
This section shows the devices and browsers currently signed in to your account. Your current device is marked This device.
If you think your account may have been compromised, click Logout Other Browser Sessions to sign out everywhere else, then update your password.
Notifications
The Notifications tab lets you choose how and when BlinkMetrics notifies you. Toggle each option on or off to fit how you like to work.
Notify Me When
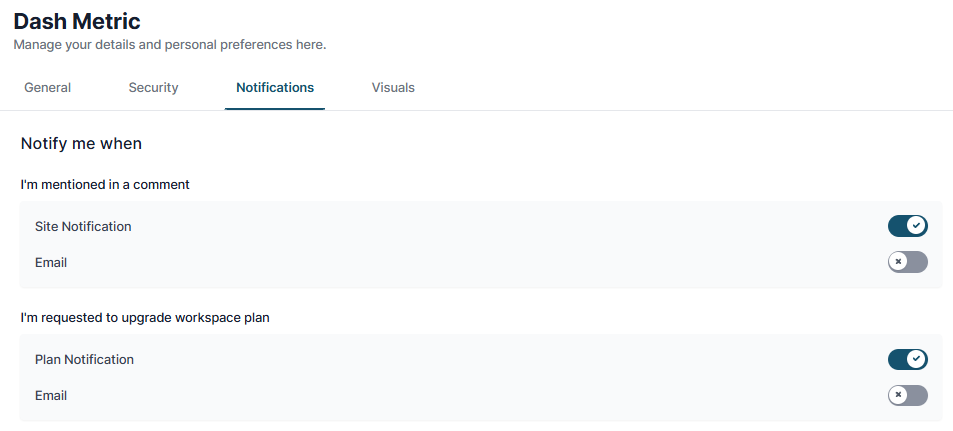
These settings control specific events. For each one you can turn on a site notification (shown inside BlinkMetrics), an email, or both:
- I’m mentioned in a comment - get notified when someone @-mentions you
- I’m requested to upgrade workspace plan - get notified when a team member asks you to upgrade the plan
Global Settings
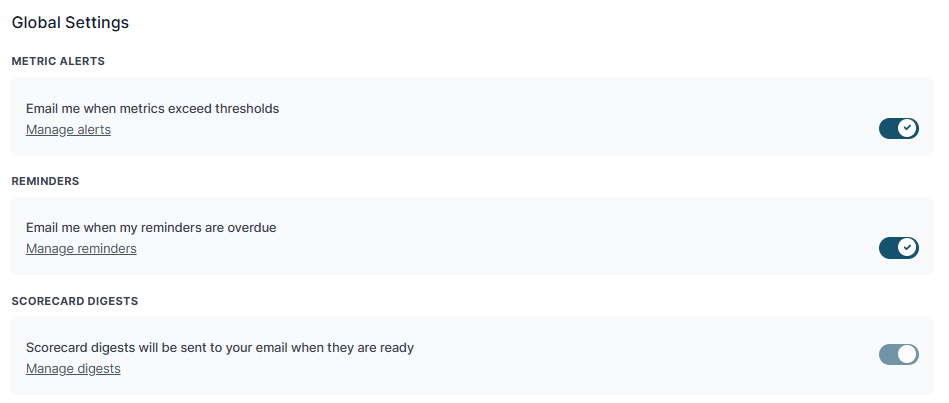
These control the broader email notifications tied to your metrics and scorecards:
- Metric Alerts - email you when metrics exceed their thresholds. Use Manage alerts to set them up.
- Reminders - email you when your reminders are overdue. Use Manage reminders to adjust them.
- Scorecard Digests - email you a scorecard summary when it’s ready. Use Manage digests to configure them (see our Scorecard Digests guide).
Visuals
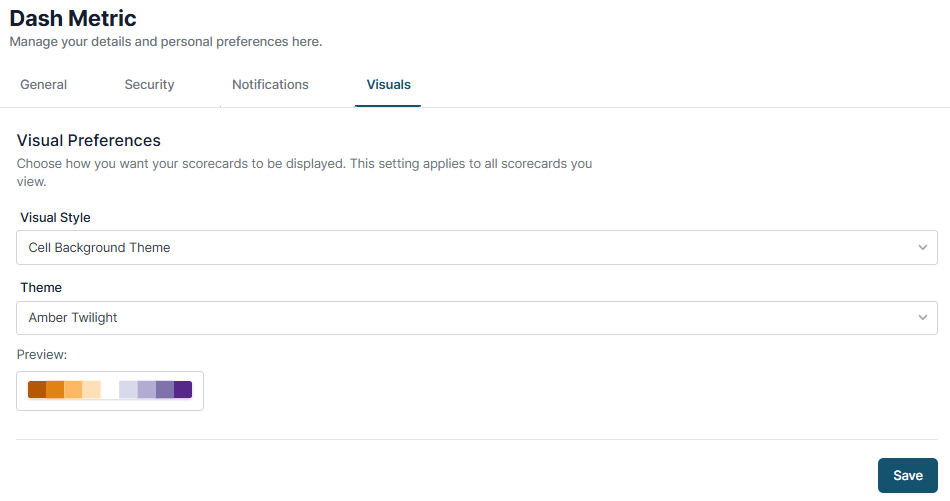
The Visuals tab controls how your scorecards are displayed. This setting applies to all scorecards you view - it’s a personal preference, so it won’t change how scorecards look for anyone else on your team.
Choose a Visual Style and Theme
Pick a Visual Style (for example, Cell Background Theme) to set how color is applied to your scorecard cells, then choose a Theme to set the color palette.
The Preview swatch updates as you choose, so you can see the colors before you commit. When you’re happy with it, click Save.
And that’s it! Your profile is set up the way you like it - your details, your security, your notifications, and your view.